During a Slay the Spire 2 run, you will be met with three Acts. All of them have their own special enemies and bosses, as well as a different locale/biome. To reach the final boss, you will have to go through at least 45–50 encounters. This Slay the Spire guide will explain all Acts.
All Acts in Slay the Spire 2
While there are three acts in Slay the Spire 2, each Act can be set in one of two different biomes. For now, there is only one alternate biome, and the other two are yet to be implemented in the game. Let’s take a look at the biomes we currently have:
Act 1: Overgrowth
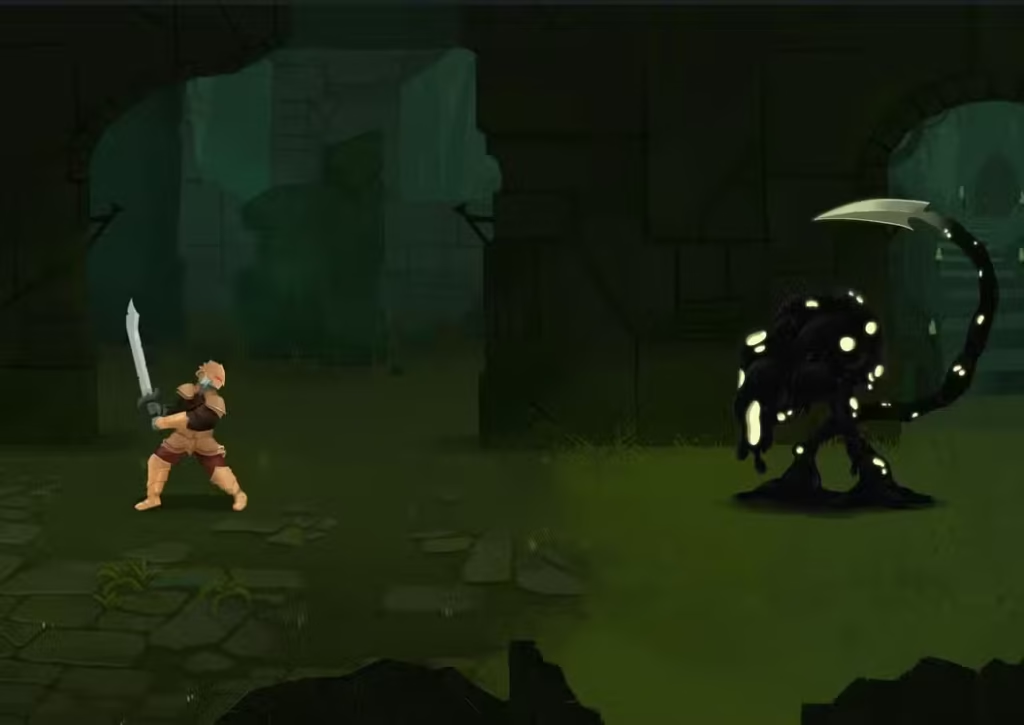
This grassy biome is filled with weird and hostile critters. As this is an Act 1 area, there aren’t many tough opponents here, and this goes for the bosses as well. Here’s a list of bosses you will encounter in Overgrowth:
| Boss | Explanation |
| Vantom | Protected by a destructible layer of ink that reduces damage taken. Vantom’s |
| The Kin | Its attacks grow stronger with each turn, resetting after its third turn. The Kin is weak to multi-hit attacks, such as Regent’s Stardust. |
| The Ceremonial Beast | A simple enemy until its health drops. Once it does, it will start inflicting some seriously debilitating debuffs on players. |
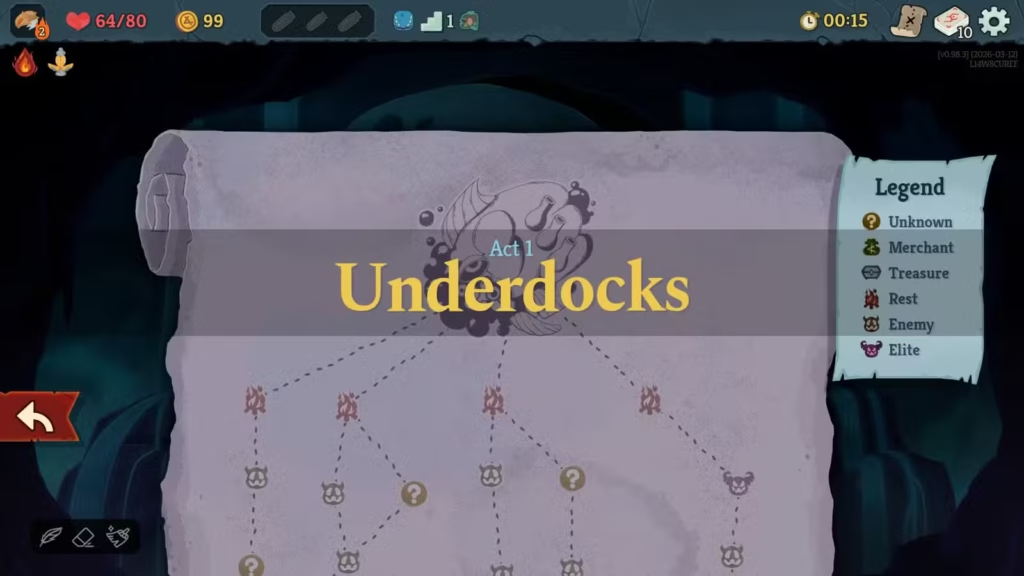
Act 1: Underdocks
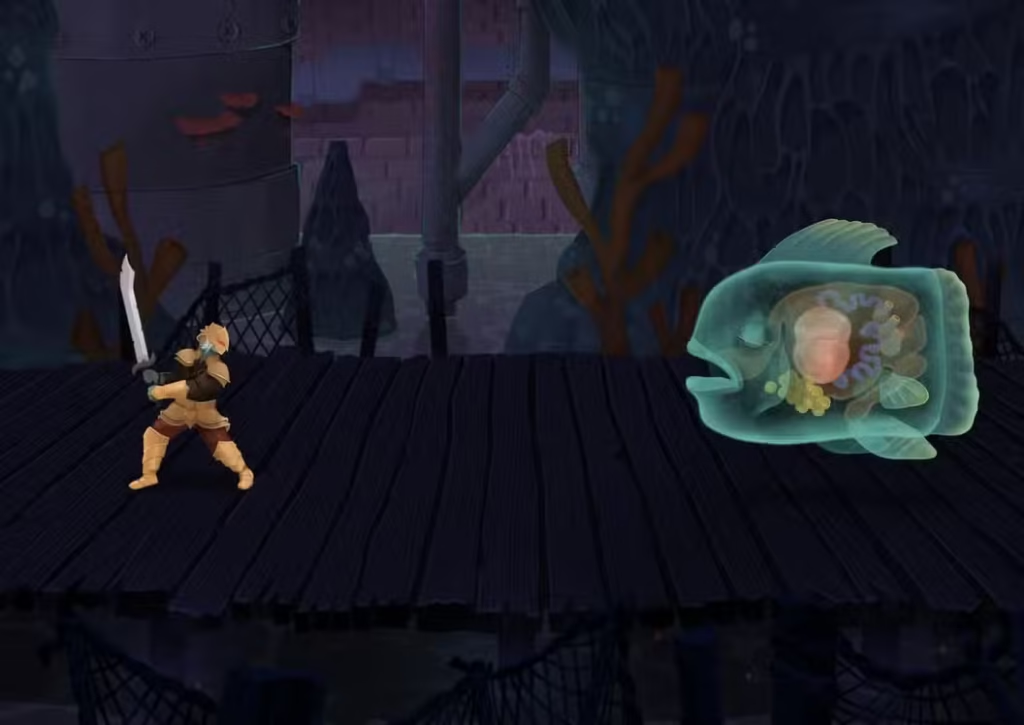
In the Underdocks, you will find all sorts of aquatic monsters. This sewer-like area features some elite enemies and bosses that might trouble players. Below is the list of bosses you will find here:
| Boss | Explantion |
| The Soul Fysh | It adds Beckon cards to the player’s Draw Pile. If you have one in your hand, you will take damage at the end of your turn. |
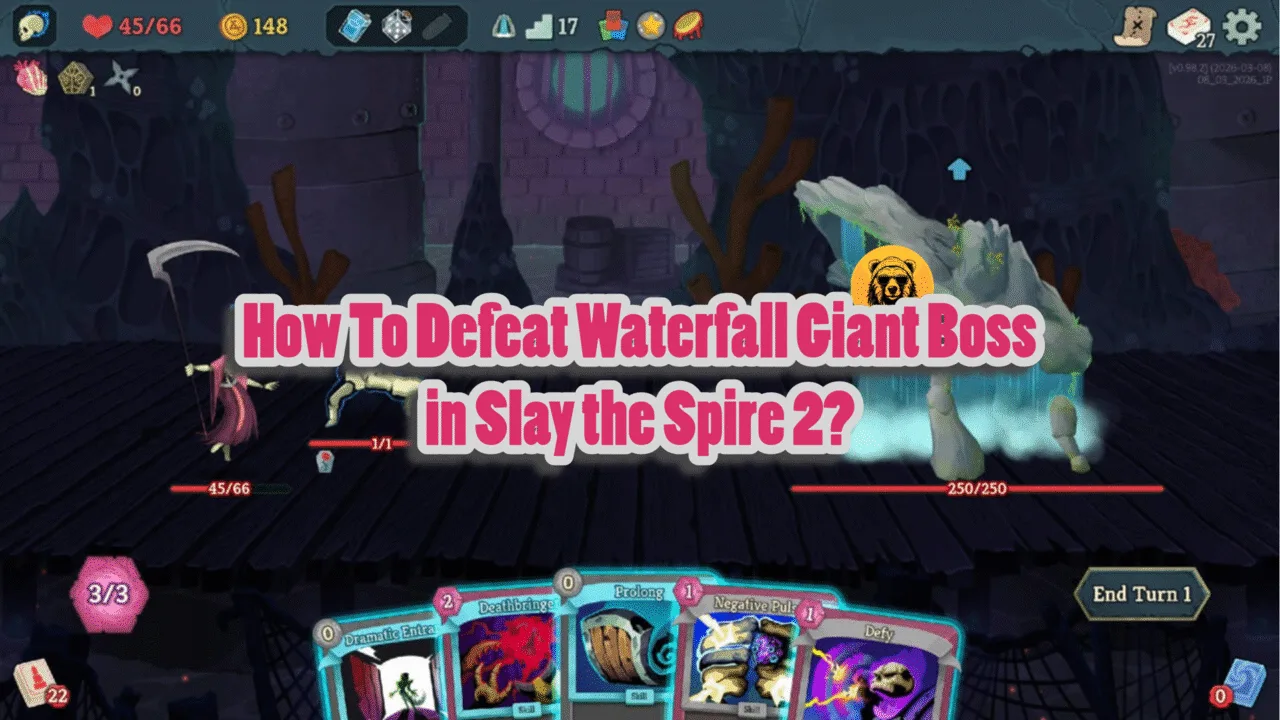
| The Waterfall Giant | It slowly builds up the Steam Eruption status on itself throughout the fight. Upon dying, the Eruption will be set off. You must have enough HP or Block to survive the eruption, or the run will fail. |
| The Lagavulin Matriarch | It has a tendency to turtle up with high amounts of Block while building up Strength and inflicting Strength and Dexterity debuffs on players. |
Act 2: The Hive
Here’s where things start to get harder, as this area is a significantly more dangerous area than either of the two Act 1 biomes, where you will encounter a ton of insects. The elites here are tough, too, and can punish the players who didn’t come prepared. The bosses here require you to be strategic as well.
| Boss | Explantion |
| The Insatiable | It will instantly kill players in a set number of turns. Use Frantic Escape cards that the boss adds to your Draw and Discard Piles to delay this. |
| Kaiser Crab | It involves a gimmick where you need to face the claw with the highest damage value. Players will take more damage from claws that hit them from behind. |
| Knowledge Demon | This boss heals itself after a set number of turns, and also inflicts curses that have some seriously punishing effects. This one is actually tough. |
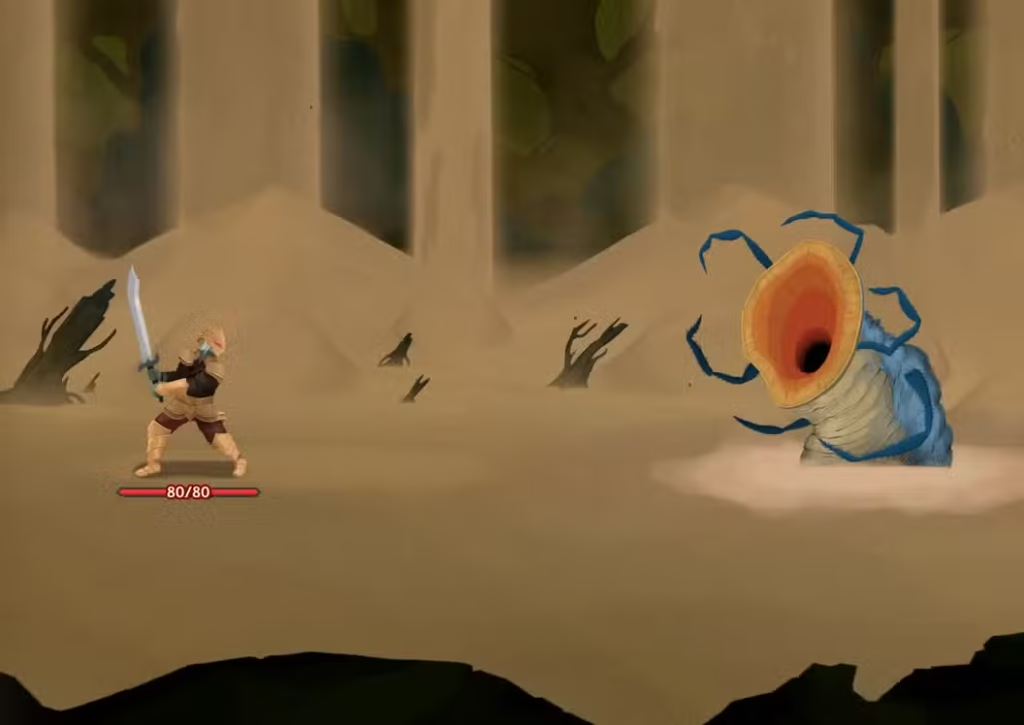
Act 3: Glory

Now, you are in the danger zone, where you will encounter some of the hardest opponents of Slay the Spire 2. The normal enemies here have the potential to end your run if not played correctly. Don’t even get me started on the elites and bosses, as they are almost guaranteed to end your run if you don’t know what you are doing.
| Boss | Explanation |
| Doormaker | A pretty annoying boss that doesn’t give you much chance to damage itself. You will first have to defeat the portal covering it to hit it. One more thing, the portal will always respawn with full health. |
| The Queen | A huge debuffer, as she starts the fight with a minion who deals a ton of damage. |
| The Test Subject | This one is a three-phase boss fight, with each fight featuring different mechanics that players need to deal with. |
That’s all for this Slay the Spire 2 guide on all Acts. I hope that you found this guide helpful. For more on the game, see our other guides for Slay the Spire 2.