Need for Speed Heat is one of the better titles in the entire franchise. Running on the Frostbite engine, the game doesn’t just look good, it also runs well on PC and consoles. On top of that, the PC version of the game scales well on different configurations. Despite the optimizations, PC users are experiencing errors and issues with NFS Heat, like the DirectX error. Here I have compiled a list of fixes that will help you resolve the Need for Speed: Heat DirectX error on your Windows PC.
5 Ways to Fix NFS Heat DirectX Error
As stated, NFS Heat on PC is well-optimized, but despite that, the game isn’t perfect, as players experience errors and issues like crashes, no audio, or the black screen issue. The franchise or the Frostbite engine has a bit of a history of DirectX error. Even Need for Speed 2016 PC players experienced the DirectX error. There are multiple reasons for this particular issue, like the unlocked frame rate, DirectX or EA App cache being corrupt, an overclocked GPU, and more. The following fixes will help you resolve NFS Heat’s DirectX error on your PC.
Fix #1 – Adjust Graphic Settings
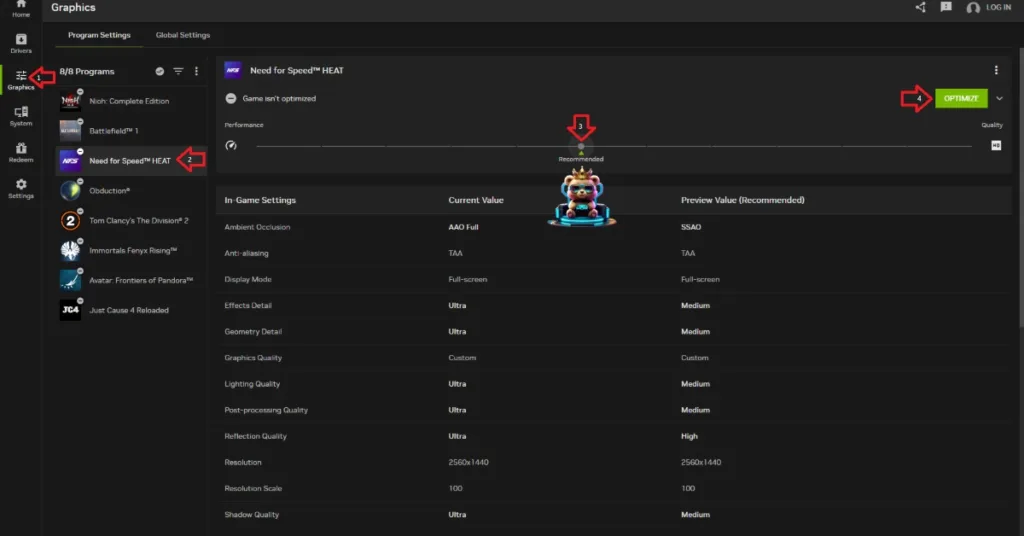
Need for Speed Heat crashes with a DirectX error because the GPU is under an extensive rendering load due to max settings. By changing the settings to High or Medium, you can fix this error. If you are experiencing this issue while you launch the game, you can use the Nvidia App to lower NFS Heat’s graphics settings. Here is how to do it.
- Open the Nvidia App > “Graphics” tab > Need for Speed Heat.
- Drag the slider to Performance, and click the “Optimize” button above it.
- Play NFS Heat now, and you will not get the DirectX error again.
Fix #2 – Limit NFS Heat’s Max Frame Rate
When you play games at an unlocked FPS, the input latency is reduced, and gameplay feels smoother. However, it can also put unnecessary load on the GPU and CPU and force the games to crash with a DirectX error. If you are getting this error message while playing NFS Heat, then it is due to an unlocked FPS. Limit the game’s max frame rate to fix the error. Follow the steps below to limit the game’s FPS and reduce the load on the GPU and CPU.
- Go to the Nvidia Control Panel.
- Go to Manage 3D Settings > Program Settings tab.
- Click the dropdown button and select Need for Speed Heat from this menu.
- Scroll down, click Max Frame Rate, and set a value.
- Play the game, and the issue is now fixed.

Important Note: If you are not using a FreeSync or G-Sync display, keep the Max Frame Limit to 1/2, 1/3rd, or 1/4th of your monitor’s refresh rate. Otherwise, the game feels jittery.
Fix #3 – Enable Debug Mode through the Nvidia Control Panel
Many PC users using third-party graphics cards from AIB partners like GIGABYTE or Zotac have reported DirectX errors while playing Need for Speed Heat. The reason is that these graphics cards are either factory overclocked or use higher GPU and Memory Clocks than Nvidia reference models. You can fix this by enabling the Debug Mode. Open the Nvidia Control Panel, click “Help” from the top left corner of the window, and select “Debug Mode” from this menu. Play NFS Heat, the DirectX error is now fixed.

Fix #4 – Update DirectX on your PC
The most common reason behind NFS Heat crashing with a DirectX error message is missing or corrupted DirectX files. Simply install or update DirectX to fix this error.
- Navigate to the Steam Library and type “Steamworks” in the search bar.
- Right-click “Steamworks Common Redistributables” > Manage > Browse local files.
- It will open a new Explorer window.
- In this window, go to the “_CommonRedist” folder > DirectX > Jun2010.
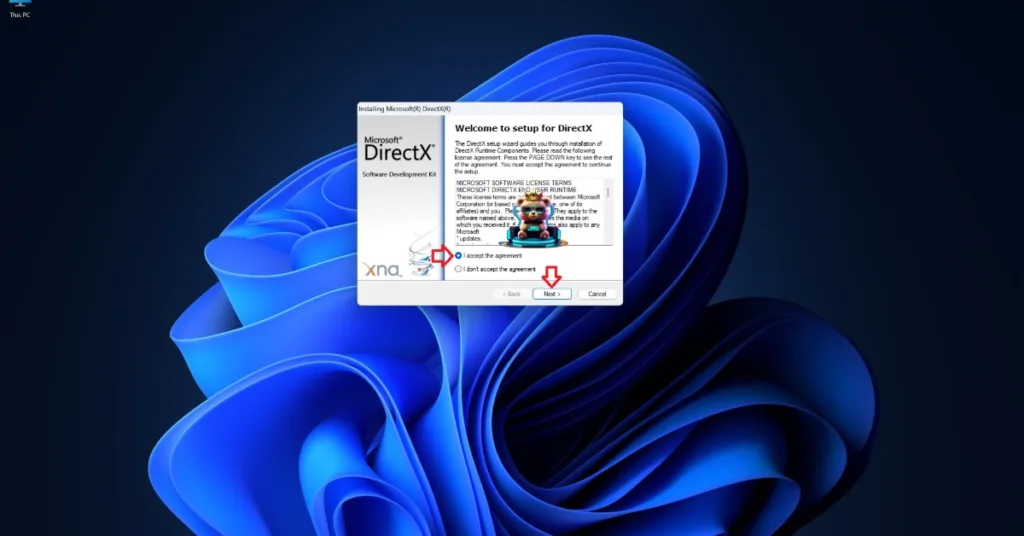
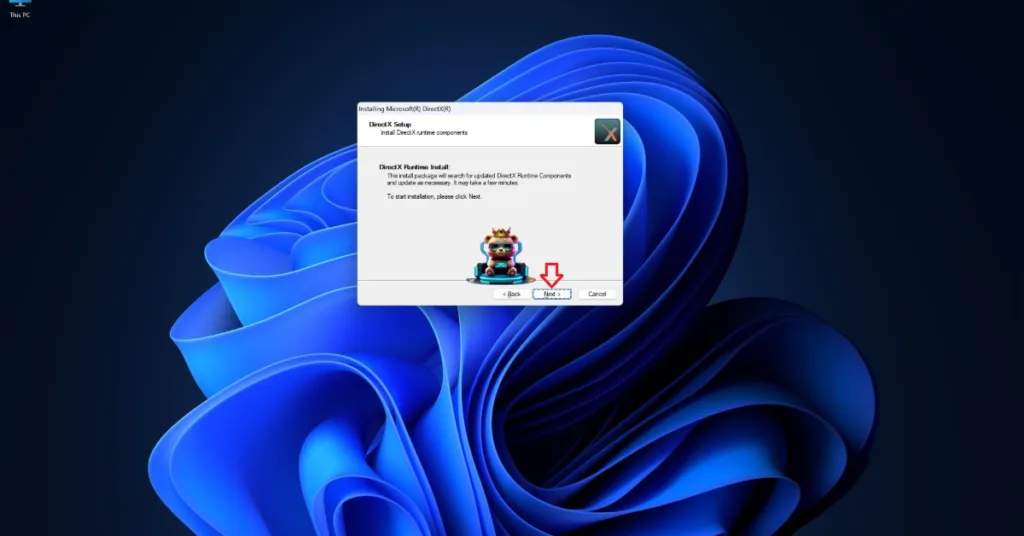
- Run the “DXSETUP” and follow the prompts to complete the installation.
- Launch NFS Heat, and the DirectX error is now fixed.


Alternatively, you can download the DirectX End-User Runtime Web Installer and update or install DirectX to fix the error.
Fix #5 – Clear DirectX Shader Cache
Windows updates from Microsoft are intended to improve the user experience, but they can sometimes corrupt the DirectX shader cache. Need for Speed Heat crashes with a DirectX error because of a corrupt cache. You can fix this problem by deleting the DirectX shader cache, and Windows will create a new one when you relaunch the game. Follow the steps below to clear the DirectX shader cache.
- Open Windows Settings and navigate to System > Storage > Temporary Files.
- Click “DirectX Shader Cache” and click “Remove Files”.
- Launch Need for Speed Heat, and it will not crash with a DirectX error.


Fix #6 – Clear EA App Cache
Being an EA game, PC users have to install the EA App to play Need for Speed Heat, even if they bought the game on Steam. However, the app itself is the reason for the game’s DirectX error crash. To fix it, clear the EA App cache, and here is how to do it:
- Open the EA App.
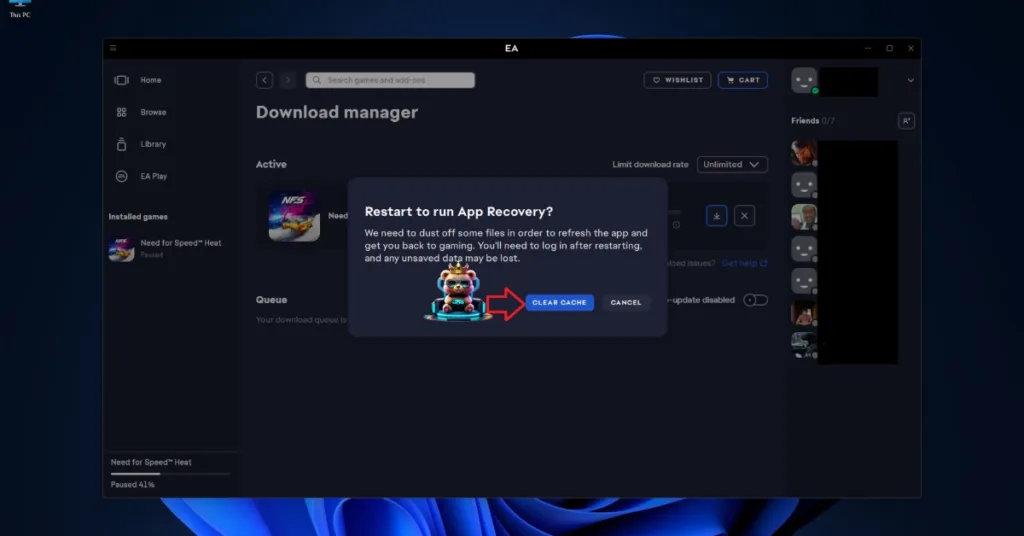
- Open the top left menu > Help > App recovery.
- Click the “Clear cache” button, and the app will restart.
- Play NFS Heat, and the error is now fixed.

Fix #7 – Run DISM and System File Checker
Windows Updates sometimes damage system files. These corrupt or missing system files are crashing Need for Speed Heat with a DirectX error. You can fix the error by running the DISM and SFC scans to download and replace the missing or corrupt system files. Here is how you can do it:
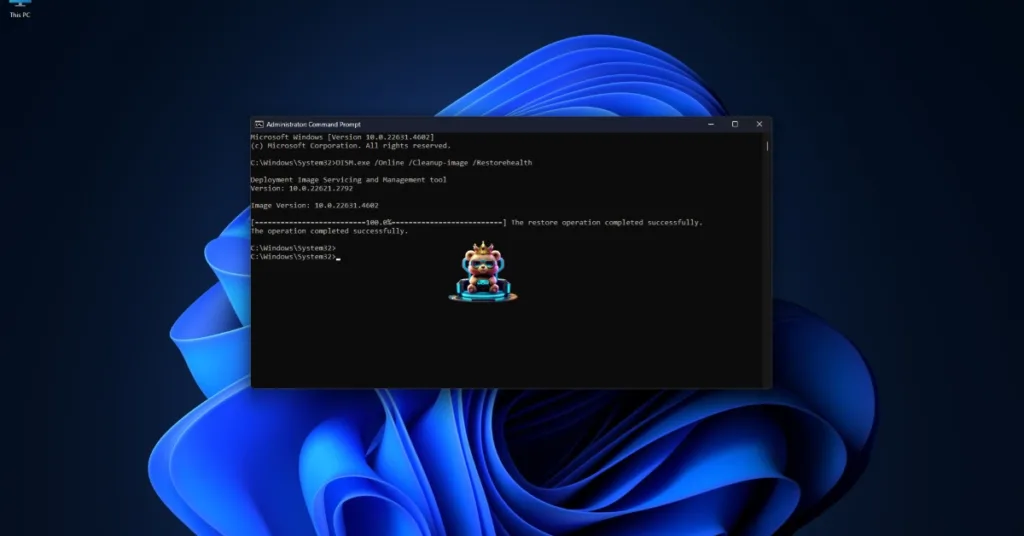
- Open Command Prompt (CMD) and run it as an administrator.
- Type DISM.exe /Online /Cleanup-image /Restorehealth and press Enter.
- Let the scan complete.
- After the DISM scan is complete, type sfc /scannow, and press Enter.
- It will scan for any missing or corrupt system files and replace them.
- After the scans, play Need for Speed: Heat, and the DirectX error is now fixed.
There you have it, our fixes for the DirectX error issue in Need for Speed: Heat. If you are experiencing errors and crashes in games, also see our fixes hub for commonly occurring errors for PC and handhelds.