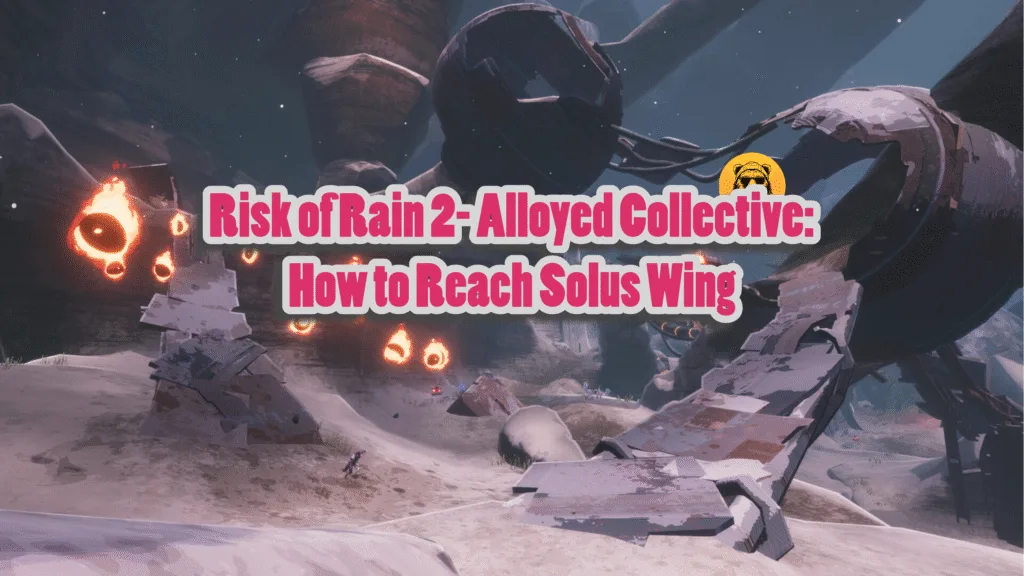
With the Risk of Rain 2 new expansion of Alloyed Collective, we get a new final boss, Solus Wing. Finding the boss is a challenge in itself, let alone defeating it. As this is a separate final boss, the expansion has various routes to differentiate it from the main game.
To reach Solus Wing, you need to find special access nodes, usually on Stage 3 or Stage 4. If none show up on stage 3, it’s not guaranteed, even if many runs seem to have them; check again on stage 4. Once you activate one, a virtual orb appears. And after activating the teleporter, an encrypted portal will appear.
Final Boss Location in Risk of Rain 2 Alloyed Collective

With the expansion enabled, reach Stage 3 and interact with the Node building, which will be blinking red to activate it. Now, a blue orb will start orbiting around the teleporter. After activating the teleporter, beat the boss and enter the Encrypted Portal.


Now that you are in the Conduit Canyon, fight elite enemies with blue shields to get Sentry Keys. Keep in mind that you have to be inside the shield to deal damage to them. Use these keys in the Sentry Terminals to hack the barrier. To get them, make use of the new zip line things.
Once you have crossed the barrier, you will need to insert more Sentry Keys in the three Sentry Terminals present there to reprogram the encrypted teleporter. Once you have done that, activate the encrypted teleporter.

The fight with the Solus Control Unit and the Alloy Hunter will begin. After defeating them, grab the drops and use the teleporter to reach the Solutional Haunt. The large hole leads to Solus Wing, so jump down to encounter it.
As I mentioned at the start, this is not the main final boss. This was added with the Alloyed Collective expansion. After this, the actual final boss awaits you.
How To Beat Solus Wing In Risk Of Rain 2 Alloyed Collective
Solus Wing has four weak points: three around its giant eye and one on top of its head. Shooting these weak points stuns him briefly and deals major damage, but also triggers new attack mechanics. Try to damage all weak points evenly, instead of breaking them one at a time.

The three small circles around the eye fire purple projectiles; they lock onto you, and you must shoot them down before they hit. He also has a body-wide wall push that can be avoided by using vertical mobility by jumping or using platforms, or by dropping down a level when you see him wind up.
After breaking his weak point, the fight enters phase two. Now he adds a straight laser attack (requiring constant movement to dodge) and a grid attack: a damaging grid arises from the floor or ceiling that you can easily dodge by finding a large gap.
Late in the fight, the arena spawns environmental hazards: heat vents that cause burning damage over time, and cooling vents. Instead of destroying heat vents, shoot only the cooling vents. Using those creates safe zones where your burn is cleansed, and the Solus Wing takes stacking burn damage. You can bounce between 3–4 safety stations to survive while burning the boss.
That’s all for this Risk of Rain 2: Alloyed Collective guide on how to find Solus Wing. I hope that you found this guide helpful.


